Why a Floor Plan Matters Before You Buy Anything
Most decorating regrets stem from purchasing furniture before planning. "A sofa that looked perfect online turns out to block the walkway." A floor plan forces consideration of actual room geometry—dimensions, doorways, windows, outlets, and traffic patterns—before spending money.
How to Read a Floor Plan
Before creating your own floor plan, it helps to understand how to read one. Floor plans use a standard set of architectural symbols to describe walls, openings, fixtures, and dimensions. Once these become familiar, any floor plan — hand-drawn or digital — is immediately legible.
Floor Plan Symbol Glossary
Walls
- Exterior walls appear as thick, bold lines forming the outer boundary of the space
- Interior walls are thinner solid lines that divide rooms within the footprint
- Half-walls or knee walls are lines that stop short of the full room boundary
Doors and Windows
- Doors show as a straight line (the door panel) with a quarter-circle arc indicating the swing direction — always leave clearance equal to the door width within that arc
- Double doors display two opposing arcs meeting at the center
- Windows appear as three parallel lines set into a wall — one for each pane and one for the frame recess
- Sliding or pocket doors show as a rectangle set alongside or into the wall opening

Fixed Fixtures
- Bathtub — a rounded rectangle positioned along a wall
- Toilet — an oval within a larger rectangle
- Sink — a square with a small circle at center for the drain
- Kitchen appliances — labeled rectangles (REF, DW, RNG) placed along the kitchen wall
Stairs
- A series of parallel horizontal lines with an arrow indicating direction; "UP" or "DN" labels clarify which end you're reading from
Dimensions
- Dimension lines run parallel to walls with arrows or tick marks at each end; the measurement appears above the line in feet and inches (e.g., 12′-6″)
- Room sizes are typically noted inside the room as length × width (e.g., 14 × 12)
How to Read a Room on a Floor Plan
Start at an entry point — the front door or main hallway — and trace inward. Read the room sequence: which rooms connect directly, which require passing through another space. This reveals the home's traffic patterns before a single piece of furniture is placed.
Check every doorway opening against your furniture plan. A standard interior door swings through 90 degrees; that arc is clearance you can never use for furniture. Pocket doors and sliding barn doors eliminate this constraint — note which type appears on your plan.
Read window placement for light direction. South-facing windows receive the most consistent daylight; east-facing rooms are bright in the morning; west-facing rooms warm in the afternoon. Position desks, reading chairs, and breakfast areas to take advantage of the light your floor plan already gives you.
Confirm dimensions against real-world furniture. A room labeled 12 × 14 feet seems generous — but with a 38-inch-deep sofa, 18-inch coffee table, 36-inch television stand, and a 36-inch walkway, the usable space is tighter than the raw numbers suggest. Use your floor plan scale and paper furniture templates before buying.

Step 1: Establish Your Focal Point
Every well-designed room features a focal point—the element that draws the eye first and anchors the entire layout. In living rooms, this is often a fireplace, a large window with a view, or a prominent piece of artwork. In bedrooms, it's typically the bed. In dining rooms, the table naturally takes center stage.
Understanding your room's focal point isn't just an aesthetic decision—it's a structural one. It determines where to place your largest pieces, how to orient seating, and where natural conversation or activity will gravitate.
If your room lacks an obvious architectural focal point, you can create one. A gallery wall, a statement piece of furniture, or even a bold area rug can serve as an intentional visual anchor. The key is committing to one—rooms that compete for attention with multiple focal points feel chaotic and unresolved.
Once you identify your focal point, arrange all furniture to acknowledge it. Seating should face or angle toward it. Lighting should highlight it. Secondary pieces should support rather than compete with it. This single principle can transform a furniture arrangement from random to intentional.

Step 2: Place Furniture — Largest Pieces First
With your focal point established, begin placing furniture from largest to smallest:
- Sofas/sectionals (living room), beds (bedroom), or dining tables (dining room)
- Secondary seating or storage (armchairs, dressers, sideboards)
- Accent pieces (side tables, ottomans, benches)
- Lighting and accessories (floor lamps, rugs defining zones)
Measuring before you buy is non-negotiable. A piece that looks perfect online or in a showroom can overwhelm a space or disappear into it. Before committing to any furniture purchase, measure your room carefully—wall to wall, doorway widths, ceiling height—and note these on your floor plan. Then confirm that each prospective piece fits within those boundaries with adequate clearance.

Sizing matters as much as placement. A sectional that's six inches too wide can block a doorway or eliminate a traffic lane. A bed that's slightly too large can make a room feel cramped and difficult to navigate. When in doubt, err on the side of leaving more space between pieces rather than less.
Use your floor plan scale to convert real-world measurements into paper or digital dimensions. Cut out paper templates of furniture to the same scale and move them around your plan before ordering anything. This step takes an extra 20 minutes and can save you from expensive return shipping.
Critical spacing guidelines:
- Allow 18 inches between a sofa and coffee table
- Nightstands should align roughly with mattress top height
- Dining chairs need about 36 inches of clearance behind them when pulled out
- A rug under a seating arrangement should extend at least 18 inches beyond the furniture perimeter
- Keep main walkways at least 36 inches wide

Step 3: Consider Sight Lines, Visual Balance, and Moodboarding
With your furniture placed, step back and think about how the room looks and feels as a whole—not just the layout, but the visual story it tells.
Sight lines matter. Visualize each doorway's view into the room. A good floor plan ensures that entry point perspectives feel welcoming and balanced, not cluttered or awkward. Look at what greets you when you walk in: is it an inviting seating area, or the back of a bookshelf?
Visual balance creates harmony. Balance doesn't require symmetry—it means distributing visual weight so no single side of the room feels heavy or bare. A large sofa on one side might be balanced by a substantial bookcase or a grouping of chairs on the other. Pay attention to heights as well: rooms where everything sits at the same height feel flat, while varying heights add energy and interest.
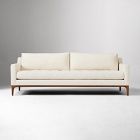
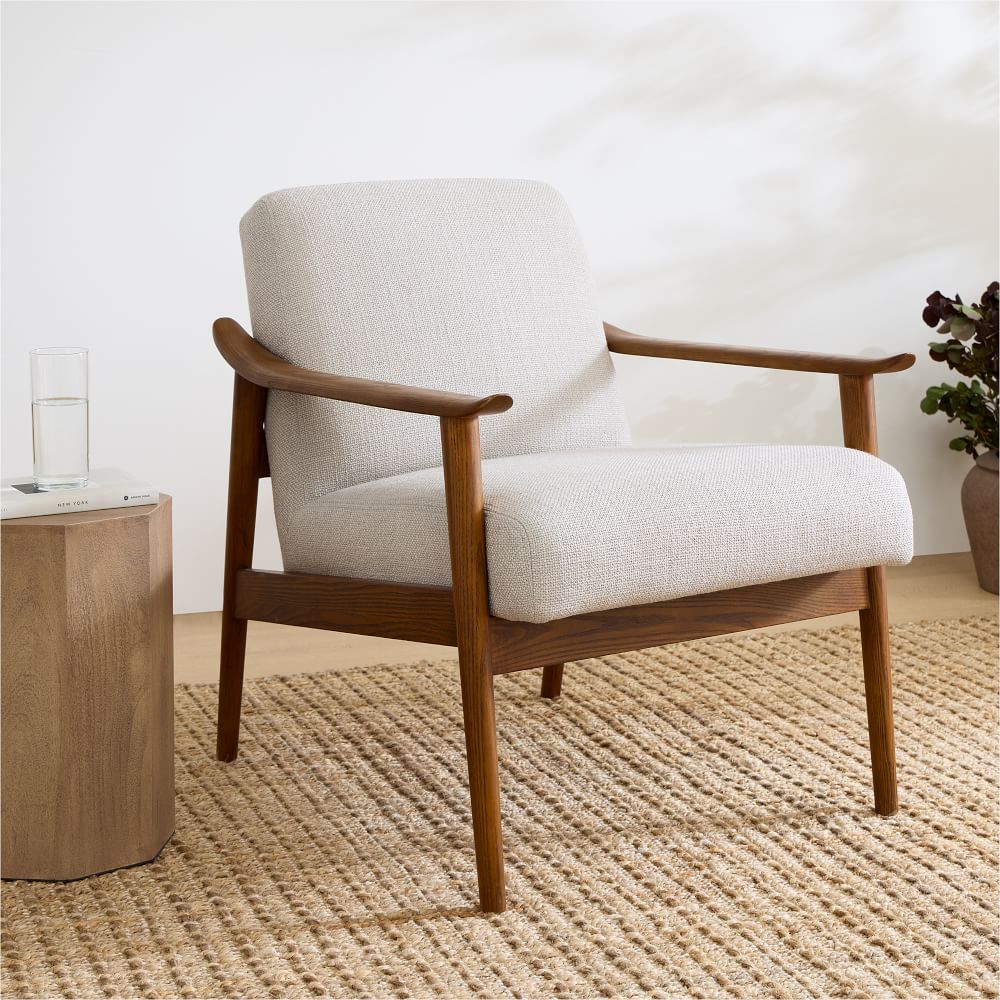
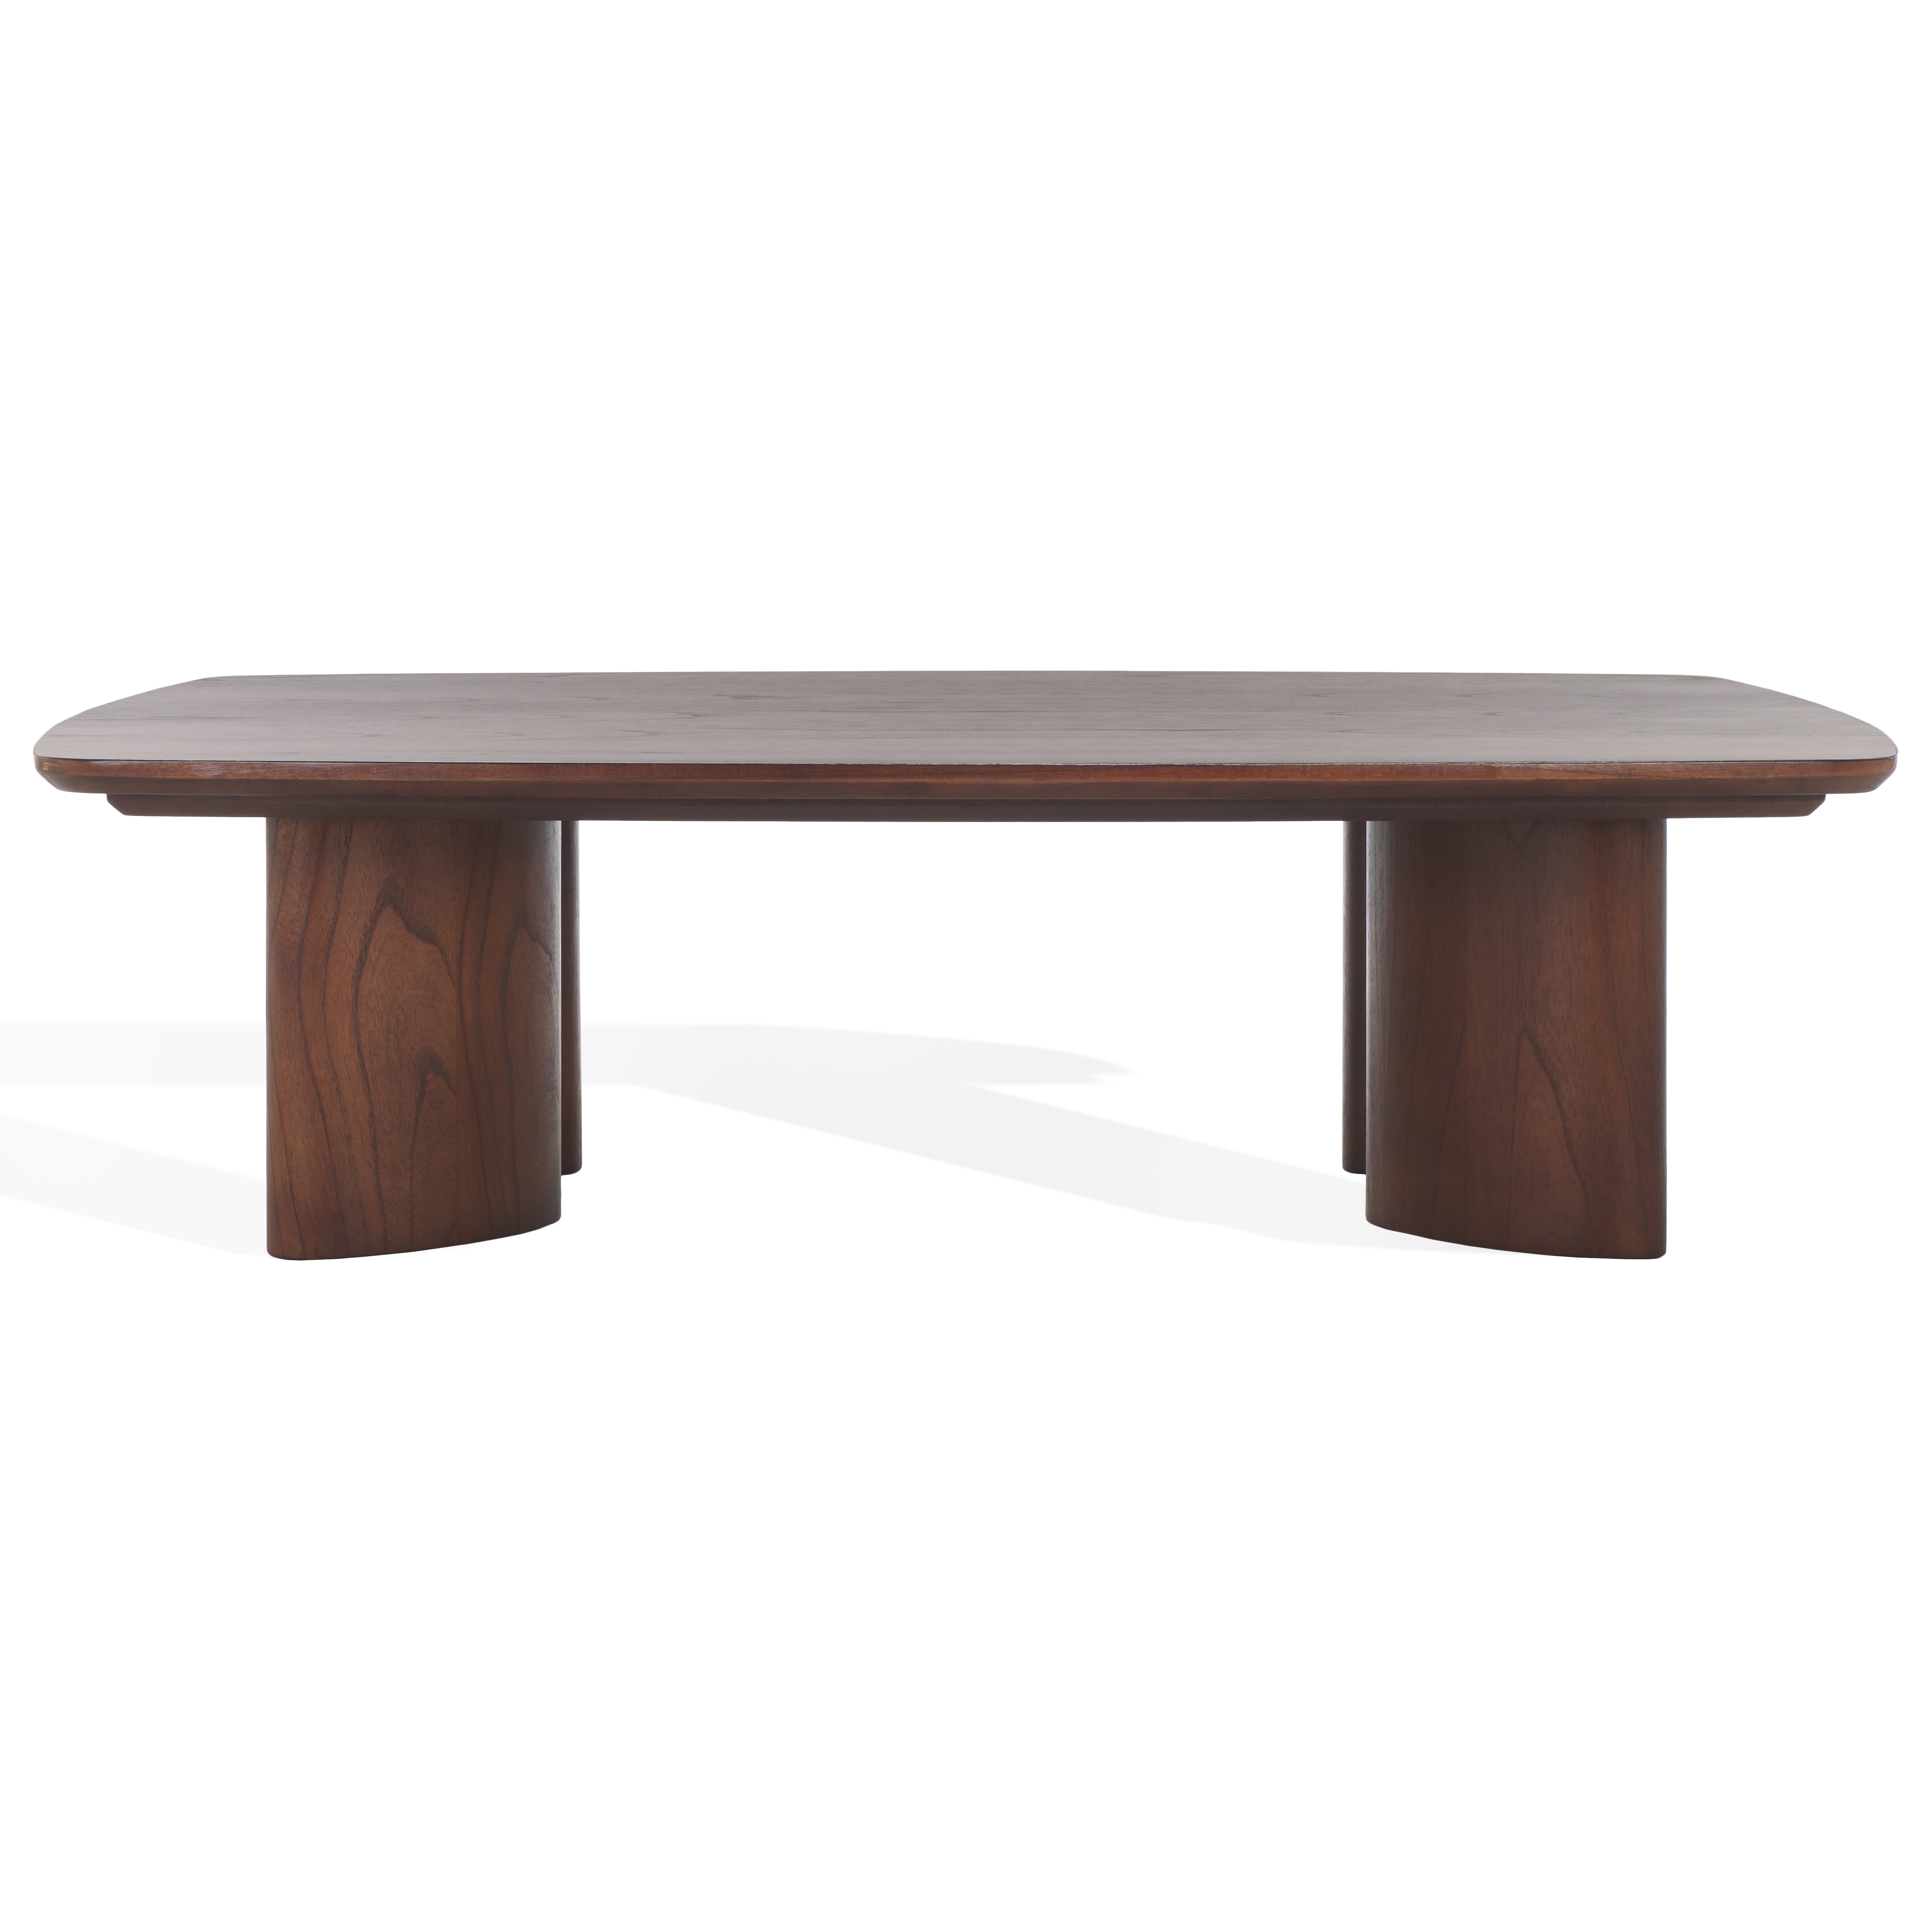
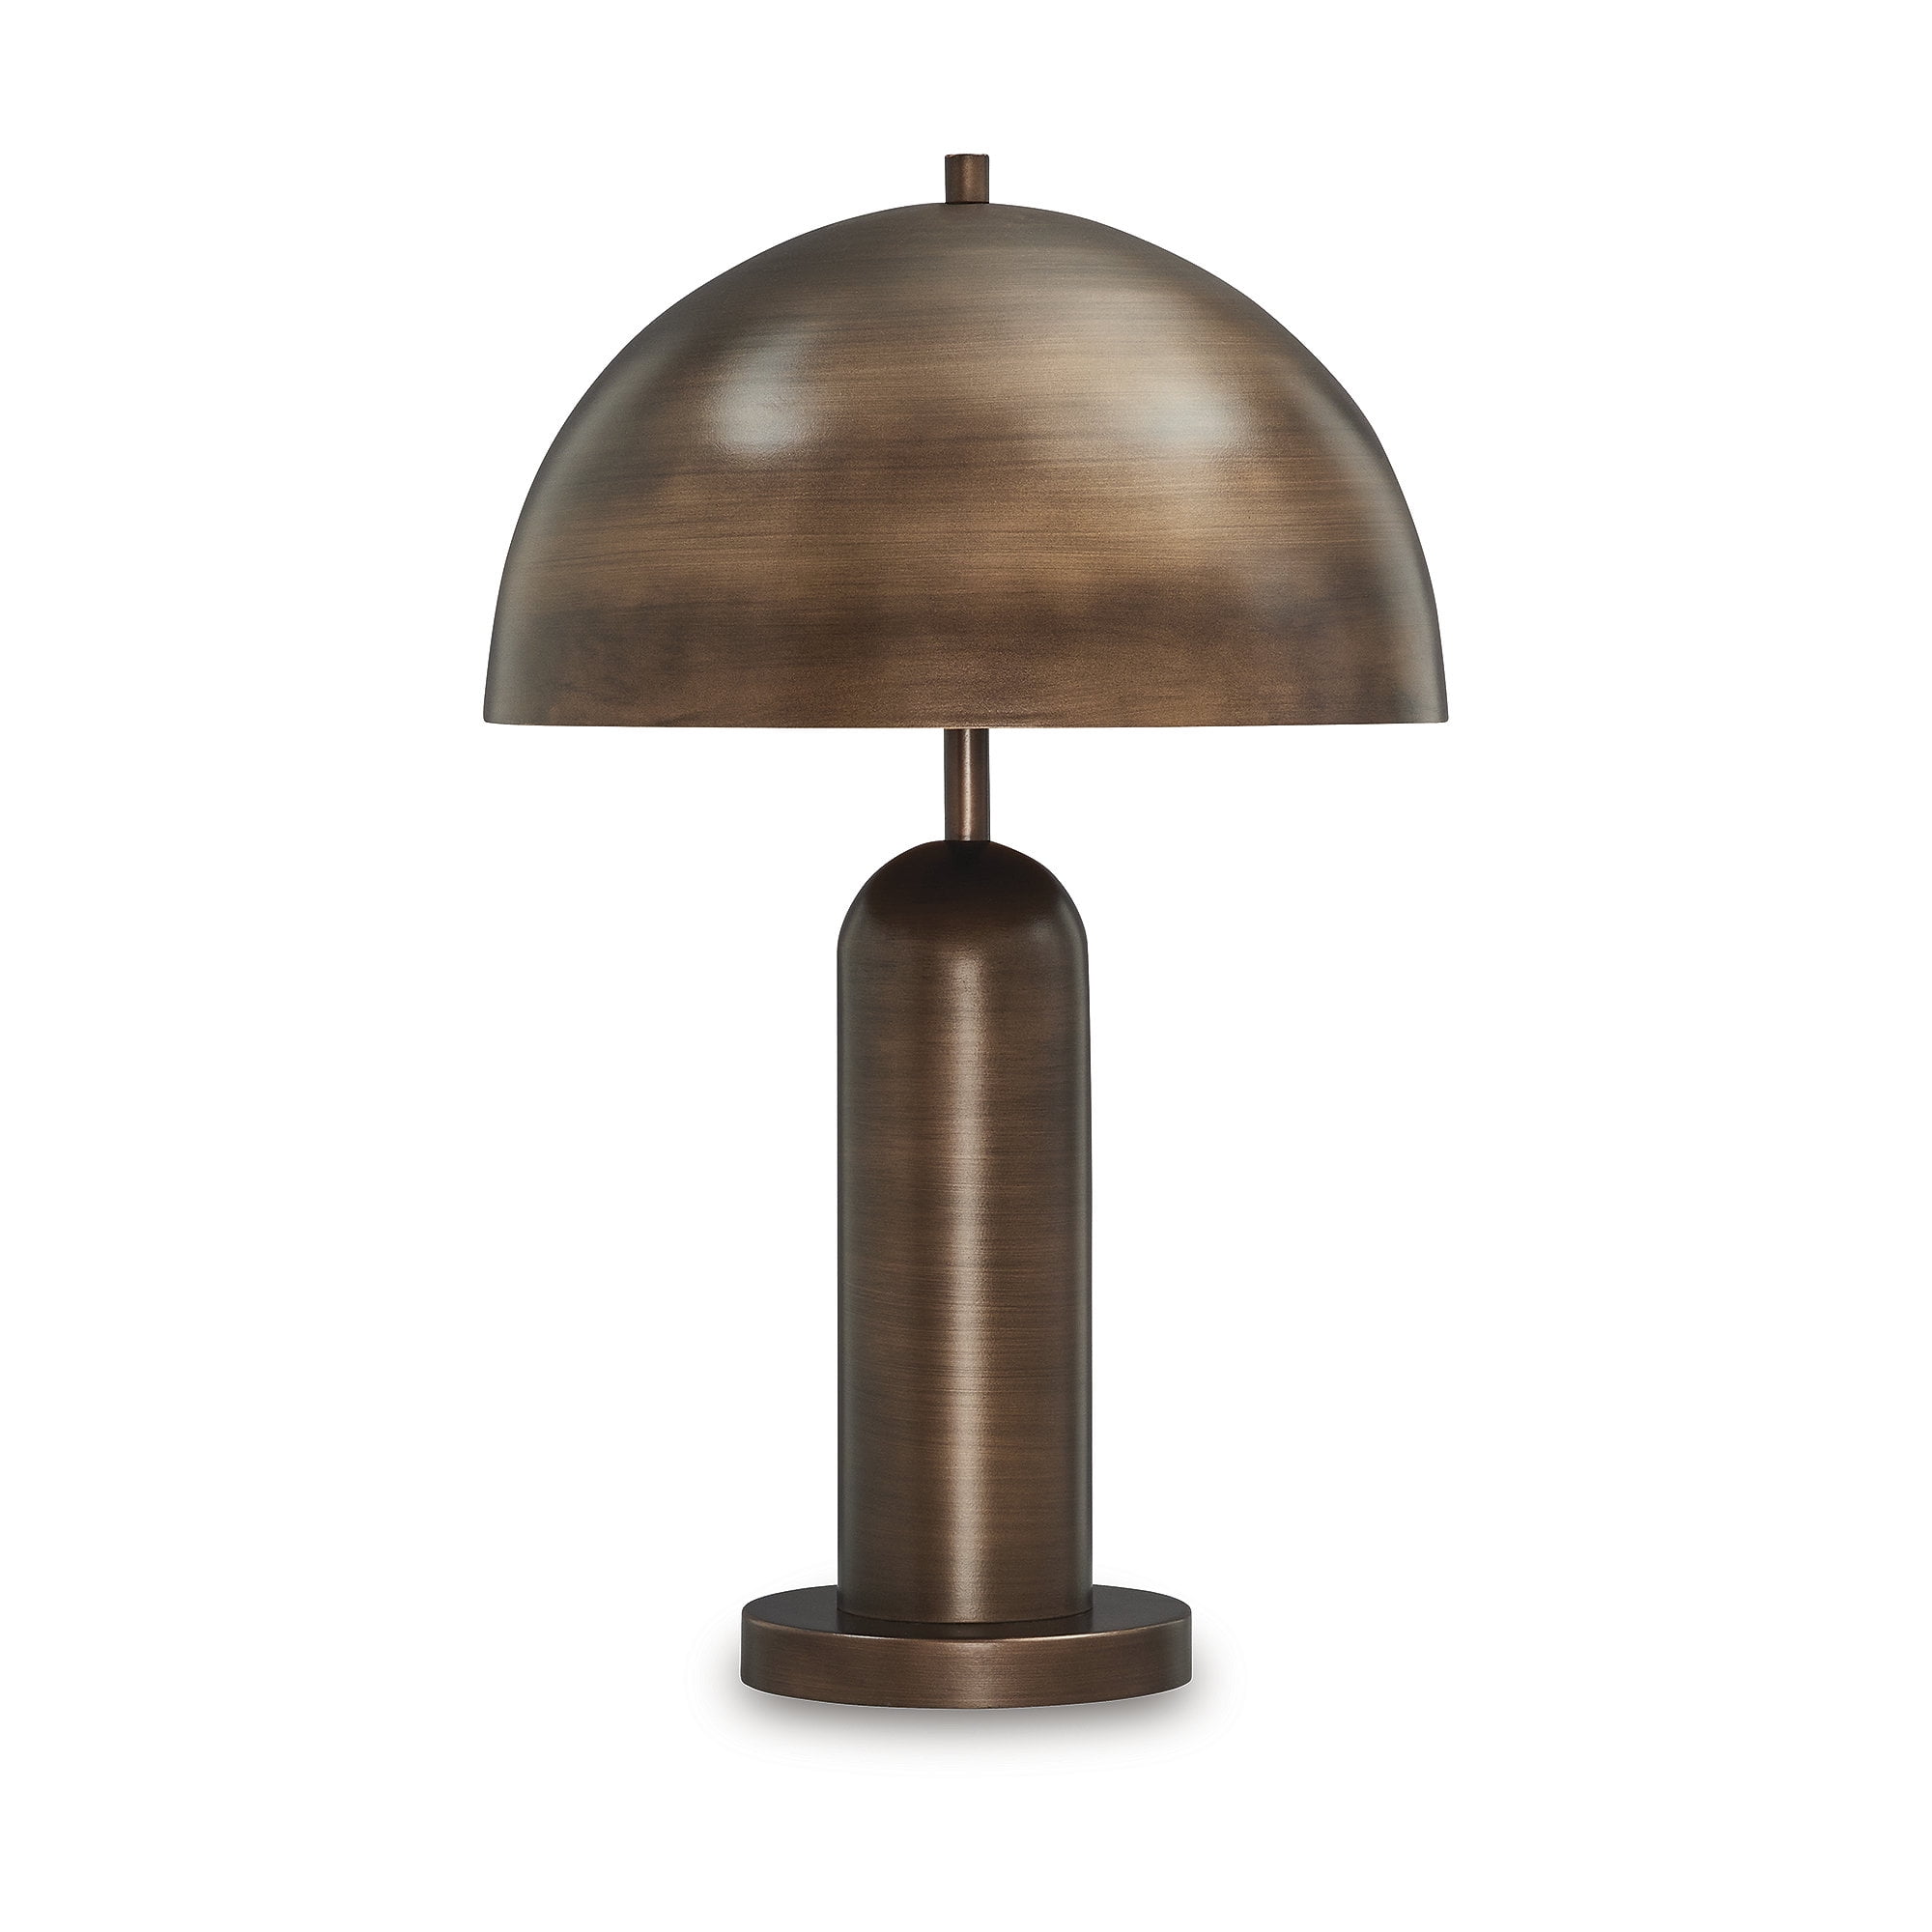
Create a moodboard before you finalize anything. A moodboard is one of the most underused tools in home design, and it's essential for making sure all your chosen pieces work together before you commit to buying. Pull together images of every item you're considering—furniture, rugs, lighting, textiles, artwork, and accent pieces—and arrange them on a single digital or physical board.
Look for cohesion across:
- Color: Do the tones feel harmonious, or are there jarring contrasts you hadn't noticed separately?
- Texture: Is there enough variety—smooth, rough, soft, structured—without feeling chaotic?
- Style: Do the pieces share a design language, or do they feel like they belong to different eras or aesthetics?
- Scale: When shown together, do the proportions feel balanced, or does one piece dominate?
Free tools like Canva, Pinterest boards, or even a simple collage of saved images can serve as your moodboard. The goal is to see your choices together, in context, rather than evaluating each piece in isolation. This step often reveals mismatches that are obvious in a collage but easy to miss when shopping one piece at a time.
Step 4: Test It Before You Commit
Before purchasing, live with your plan temporarily. Use painter's tape on the floor to mark furniture footprints. Walk through, sit in proposed locations, operate doors, and check drawer clearance. Plans appearing correct on paper sometimes feel wrong in person—this test costs nothing but prevents significant expense.
Pay particular attention to traffic flow. Walking through tape-marked pathways will reveal immediately whether your 36-inch clearances actually feel generous enough for daily use, or whether you've underestimated how much space you need around a dining table or at the foot of a bed.
Step 5: Start With a Pre-Made Plan
Rather than measuring and planning from scratch, pre-made floor plans offer professionally designed starting points with optimized furniture arrangements for common room sizes and shapes, reducing design time considerably. A pre-made plan gives you an expert-tested layout you can adapt to your room's exact measurements—saving hours of trial and error and helping you avoid the most common spacing mistakes before you've bought a single piece.
Common Floor Plan Mistakes to Avoid
- Pushing all furniture against walls creates a "waiting room" effect; instead, pull seating inward
- Ignoring scale (small loveseat in large rooms appears lost; king bed in tiny bedrooms leaves no movement space)
- Using rugs that are too small (a frequent design error)
- Blocking natural light with tall furniture in front of windows
- Overlooking outlet placement, creating lamp cord frustration
Once your floor plan is ready, the next step is choosing what goes in it. Read How to Choose Furniture for a Room: A Guide to Getting It Right to start selecting pieces that fit.
Your Next Step
With a completed floor plan, subsequent design decisions become simpler. You know required sofa size, nightstand placement, and appropriate rug dimensions. Visit athomeplans.com for professionally designed room plans organized by type, square footage, and style.